
Painting a room can transform your home, but before you start, a common question arises: “Do I need to prime my house before painting?” While modern paints are excellent, primer remains crucial for many projects, ensuring a durable, even, and professional finish.
Primer is a specially formulated base coat that prepares your surface. It creates a uniform foundation, seals porous materials, and improves paint adhesion. This saves time, effort, and money by reducing paint coats and preventing common issues. Below is our Qualified Painters guide to priming, written with Kiwi homes and our unique climate in mind.
If you need guidance on interior painting in Auckland or Wellington, talk to us today.
Primer is a purpose-made base coating that:
• Seals porous surfaces so paint sits evenly
• Blocks stains and tannins that love to bleed through fresh colour
• Gives slick or glossy areas a little bite so paint sticks hard
• Creates a uniform tone, so the colour you choose is the colour you see
Think of it as insurance for a flawless, long-lasting finish.
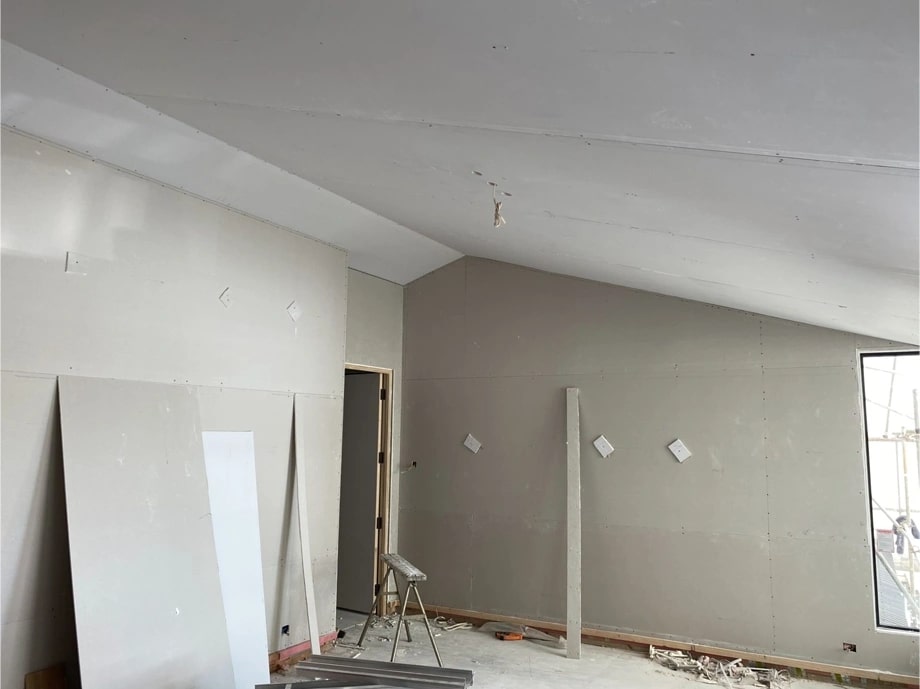
• New plasterboards or GIB® fixings: Fresh boards act like a sponge. One coat of PVA primer locks it down and stops patchiness.
• Bare timber: Timber not only drinks paint but can leak tannins. An oil-based primer seals and blocks stains.
• Wallpaper you plan to paint over: A dedicated sealer prevents paste or pattern from ghosting through.
Moving from maroon red to manuka white? Primer creates a clean slate and saves you from endless top-coats.
Nicotine, water marks, crayoned masterpieces, these need a stain-blocking primer. Severe cases call for shellac.
Glass splashbacks, laminates, high-gloss enamel and similar surfaces reject normal paint. A bonding primer provides the grip required.
Persistent pet or fire-place odours can creep back through fresh paint. Shellac-based primers trap smells for good.
• Minor colour refresh on a sound, matte wall: Two coats of quality acrylic often cover nicely.
• “Paint & Primer in One” paints: Handy for small colour tweaks on clean walls, not for heavy stain or porous surfaces.
• Light scuffs only: A wash with sugar soap, a light sand, and straight into top-coat is usually fine.
Our rule of thumb: if you’re not sure when you need to prime your house before painting, we recommend to do it. The extra hour up front saves a whole weekend re-doing a peeling wall.
| Surface or Problem | Best Primer Type | Why It Works |
| New plasterboard | PVA latex | Seals pores without raising the nap |
| Bare timber | Oil based | Blocks sap and tannins |
| Heavy stains or odours | Shellac | Fast drying, unbeatable blocking power |
| Glossy laminates | Bonding acrylic | Maximum adhesion |
All major paint brands in NZ such as Resene, Dulux, Wattyl supply each of these options. Check the data sheet and match the primer to the job, not the other way round.
Primer cannot hide a dusty, flaky, or dented wall. Before the brush touches the surface:
A well-prepared wall feels silky, not chalky, under your palm. That is when it’s ready.
Humidity can extend drying times. Allow extra ventilation, and follow the tin’s “re-coat” timing to the letter. If you are near the coast, salt residue may sit on exterior cladding. Wash it off before priming or painting to avoid adhesion issues.
Our crew turns up when promised, finishes on schedule, and treats your home with respect. From single-room refreshes to full exterior makeovers, we handle:
• Expert surface prep and priming
• Eco-friendly, low-odour products
• Quality control from first coat to final tidy-up
Prime whenever the surface is thirsty, glossy, stained, smelly, or you’re making a bold colour jump. Skimping on this simple step risks peeling, patchy colour, and extra coats down the track. Invest in primer now and enjoy a vibrant, durable result that will keep your home looking its best for years.
Qualified Painters: on time, every time.