



Most walls do not need stripping back to bare plasterboard before a repaint. A clean, sound, well adhered coating is a good enough base for the next one. We only reach for a stripper or a sander when the existing paint is failing on its own, so here is how we decide, and what each method involves.
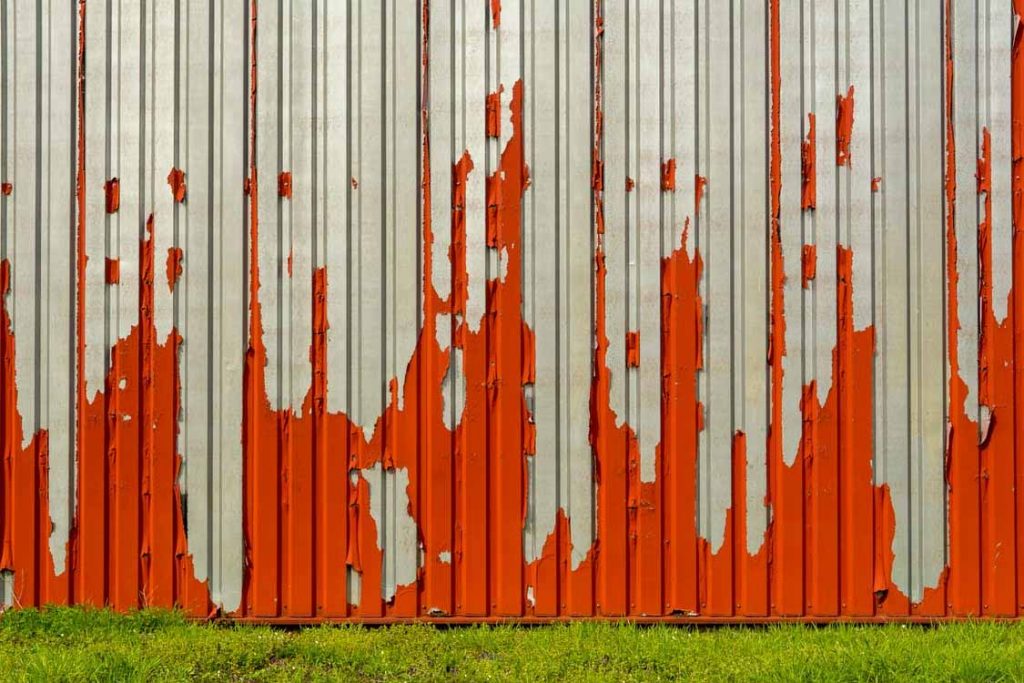
Three signs tell us a wall needs proper stripping rather than a wash and a scuff sand. Flaking or bubbling paint that lifts under a fingernail has already failed, and painting over it just seals in the problem until it reappears. Alligatoring, where the surface has cracked into small scales, means the film has gone brittle and needs to come off. And several old coats built up unevenly, especially around switches, door frames or old wallpaper glue, will telegraph every ridge through a new coat no matter how careful the painter is.
If your walls are simply dull, chalky or a colour you are over, none of that applies. That is a straightforward repaint, and our page on interior painting in Auckland covers what a smooth finish takes without stripping anything back.
For most jobs, sanding is the right tool. It is controllable, introduces no moisture or chemical residue, and works on almost every failure type short of a full multi layer buildup.
We start with wet sanding wherever we can. Wetting the surface before rubbing it down with wet and dry paper keeps the dust down, which matters both for cleanup and for anyone in the house with allergies or asthma. Dry power sanding gets used only where wet sanding will not cut it, and even then it runs through a HEPA vacuum attachment rather than a bare orbital sander throwing dust across the room.
A few things separate a smooth result from a patchy one:
Chemical stripping earns its place on small, detailed or awkward areas. Skirtings with decorative moulding, window frames and panelled doors have too many corners for a sander, and a gel stripper lifts the paint in one pass instead of hours of scraping into grooves.
Apply the gel generously with a brush in sections you can finish before it dries out. Give it the time on the label, usually ten to twenty minutes, until the paint bubbles and lifts, then scrape it off with a putty knife and wipe clean.
It is a poor choice for large flat walls though. It is slower than sanding at that scale, needs good ventilation, and any residue left behind can interfere with primer adhesion if the wall is not rinsed properly. Keep it for trim and joinery, and sand the rest.
A heat gun softens paint by warming it until it blisters, ready to be scraped away, and it works well on timber trim and furniture. We do not use it on interior wall surfaces, since the risk of scorching plasterboard paper and starting a fire outweighs what it saves over sanding.
Exterior cladding fails differently. Sun and rain break the paint film down from the outside, so weatherboards show peeling and cracking rather than the alligatoring you see indoors, and scraping back to sound timber before priming matters more, because a poorly adhered patch will not survive a single Auckland winter. If your exterior needs that level of prep it usually points to a full repaint, and our page on exterior painting in Auckland covers how we handle scraping, sanding and priming on weatherboard, plaster and fibre cement.
This is where we stop and test before doing anything else. Homes built before 1980 should be treated as likely to contain lead based paint under later coats, and dry sanding it throws lead dust into the air of an occupied house.
If there is any chance of lead, dry sanding and open flame heat guns are off the table. Wet sanding and careful scraping are safer, but the properly cautious approach beyond a small patch is testing first. We use HEPA sanders with dust extraction on lead affected surfaces, and for asbestos containing materials in some pre-1980s linings, we do not sand at all. We bring in certified asbestos removers instead.
If your villa or bungalow has layers of paint history on the walls, our guide on common interior painting prep mistakes Auckland homeowners make covers what else we check first.
Whichever method suits the job, the same setup protects the room. Clear furniture out or cover it fully, tape drop cloths down at the edges, and pull switch plates and hardware off rather than taping around them, since tape residue on old paint is its own headache. Keep windows open with a fan running for any chemical product.
Patch test first, always. A small area tells you how the paint responds, how long a stripper needs on that surface, and whether you are dealing with one coat or four.
Bare plasterboard, timber or sanded back paint all need a sealer or primer before topcoat, or the new paint absorbs unevenly and leaves a blotchy sheen. Fill any gouges left behind and sand them flush first. Where stripping has taken a wall back to damaged or crumbling board, that is a job for our plasterboard fixings in Auckland team before any paint goes near it.
Stripping paint properly takes longer than most people expect, and getting it wrong on an older home carries real risk. If you are working with multiple paint layers, a heritage villa or any surface you suspect is pre-1980, get it assessed before you start pulling paint off yourself.
Get in touch with our team to talk through what your walls need.


