


Getting your home ready for a fresh coat of interior paint doesn’t have to be stressful. With a clear plan, a tidy space and a few quick steps, you will help your painters achieve a better finish and you will get your rooms back sooner.
As Auckland interior painting specialists, Qualified Painters has put together this practical guide on how to prepare for interior house painting so your project runs like clockwork.
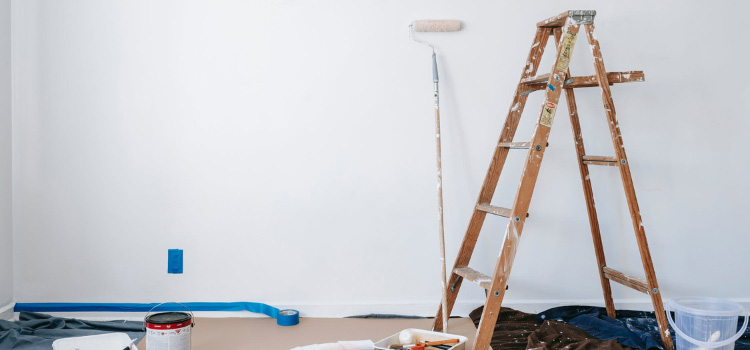
Surface preparation is the difference between paint that looks good for a few months and paint that looks great for years, further good surface preparation will:
We will always complete professional surface preparation on arrival, but a little organisation before our team gets to site lets us get straight to work.
Confirm your colour palette and sheen levels early, especially if you’re matching existing finishes or coordinating across open‑plan spaces. As a rule of thumb:
Think about where you will live while rooms are drying. We can stage the work, for example do bedrooms first, living areas next so that everyday life carries on.
Let us know about hairline cracks, dents, water stains or mould you’ve noticed so that we can assess what needs filling, sealing or priming and that you can get a better finish.
If your home was built before the late 1980s, layers of older coatings may contain lead. Only trained professionals should manage lead‑based paint. Check WorkSafe New Zealand’s guidance on managing lead-based paint for why this matters and what is involved.
Clear surfaces, take down wall hangings and make plans for pets and kids. Pack away ornaments, books, small appliances and bench‑top clutter. Empty the tops of wardrobes, remove pictures, mirrors, posters and hooks. Also create a safe, paint‑free zone for children and pets. If possible, close off the work areas and set up a temporary family base elsewhere in the house.
Whole house
Kitchen
Bathrooms & laundry
Bedrooms
Living areas
Further if you have some extra time, do a quick cleaning, remove dust of skirtings, window sills and tops of door frames reduces the chance of dust nibs in the new finish. Wipe greasy spots, usually near switches in the kitchen with sugar soap and let dry.
It depends on the number of rooms, repair work and access. Typical bedrooms are often completed in a day, larger living areas may take longer. We will give you a clear schedule with your quote.
No. Moving items away from the walls and packing small, fragile pieces is usually enough, we will then protect and cover the rest.
We will recommend the right fix, whether that is sealing stains, replacing damaged GIB® or using a specialist primer. Upon an agreed solution quote on the spot.
Absolutely. We can suggest a cohesive palette and sheen plan for the whole home.

